Friday, September 30, 2011

woodland pottery class


Last weekend was amazing.  I had signed up for a woodland pottery class offered by the Mille Lacs Indian Museum and had such a wonderful time.  I learned to dig clay, gather tempering agents, and fire pots in an open pit but I learned more than that too, more than I can squeeze into a blog post.  If we ever get together for coffee I'll tell you all about it.  For now, a condensed version.


While in class we worked on small pottery pieces and learned about the history of pottery in our area and how it was used by the Ojibwe.  Really there isn't as much information about this pottery as there is about southwestern pottery.  A wet climate and harsh winters probably play a part in that as the pots would be exposed to some pretty harsh conditions.  It is assumed that the tribes didn't take their pottery with them when traveling, rather they would find a source of clay at their new locations and build anew.  The pots would have been heavy to carry and clay is plentiful here so that makes sense.  I wondered if there were designated potters in each group or if pot-making was a skill that each family had and when the time came, pot-making was just as much a part of their day as gathering food was.  I wondered how they cooked in these earthenware pots and marveled at their ingenuity for slaking, shaping, and finishing the clay.


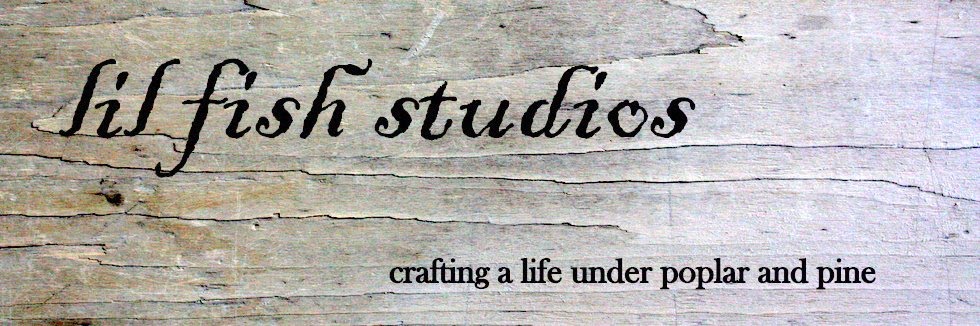
I made a couple of small pots and a few tiny decorative pieces.  This is local clay that our amazing instructor Nancy dug and provided us.  We shaped our pieces and added decoration using natural materials like sticks and shells.  The texture on the outside of this small smudge pot (above) was made with a bumpy seashell as was the neck design of the small unfired pot below. 


I used the end point of a stick to texture the inside of the smudge pot and when the piece was dried to leather-hard I burnished it with a smooth stone.


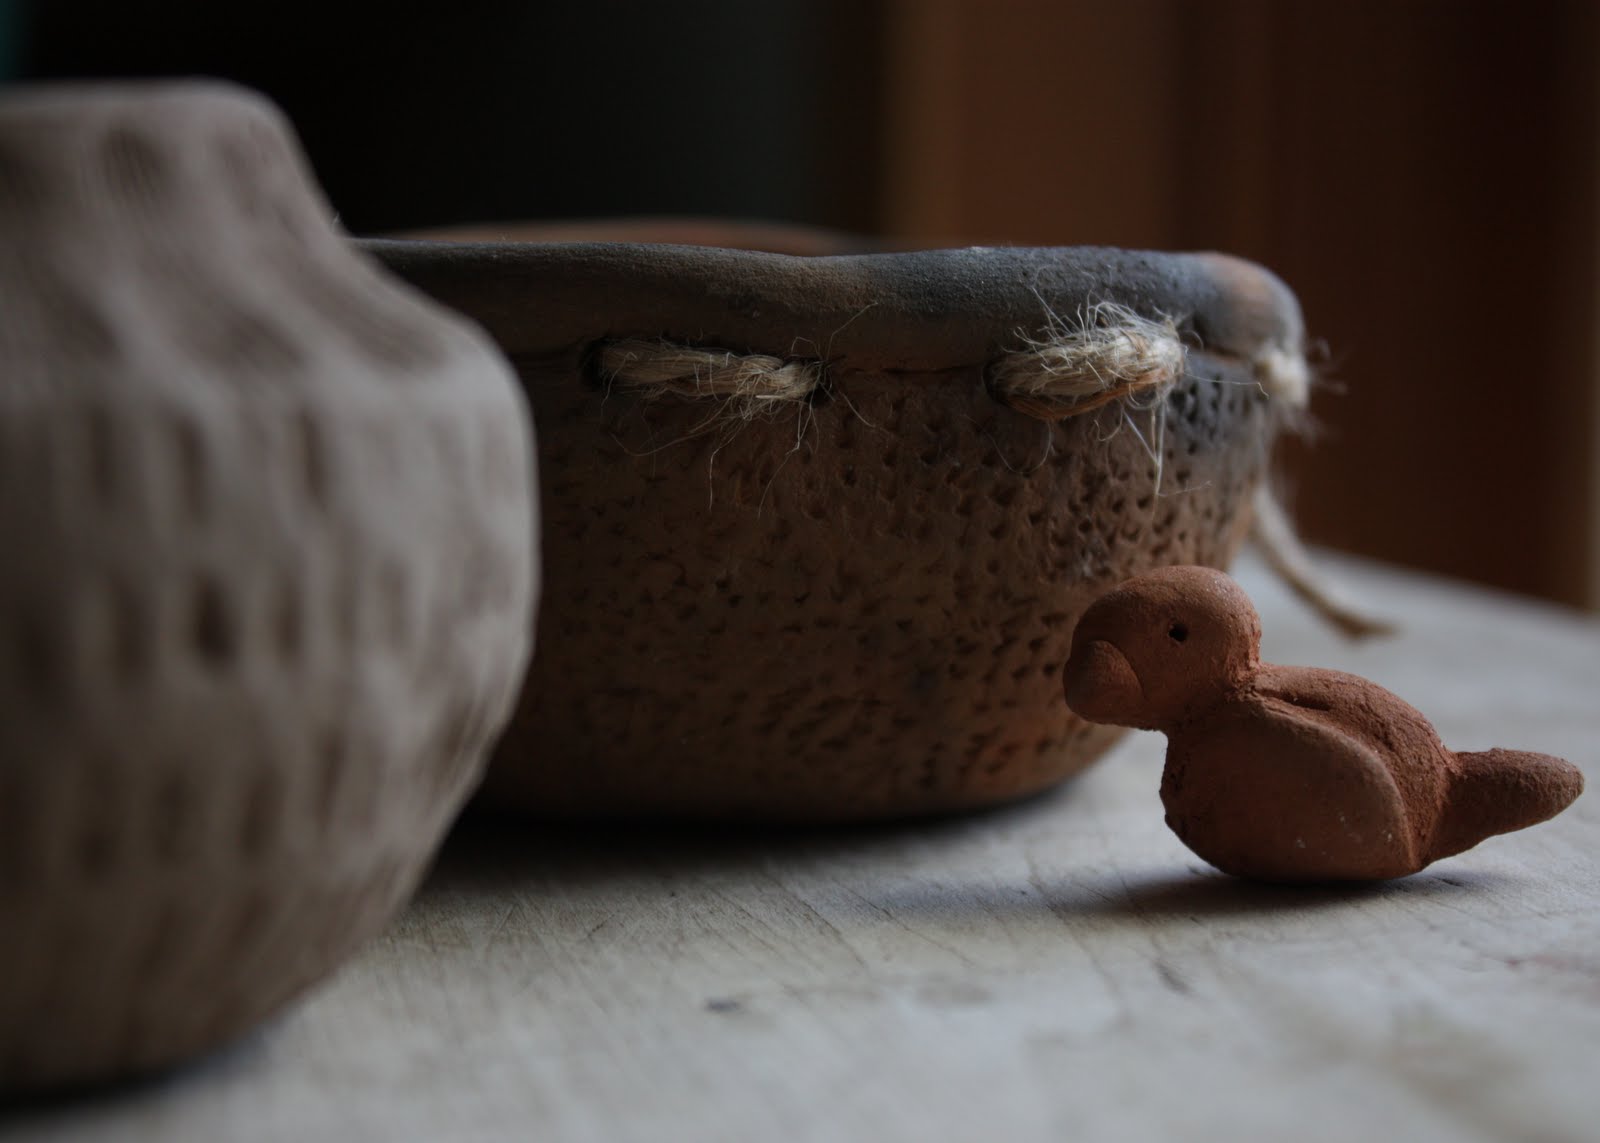
You can see that the clay started off a grey color like the unfired piece on the left below, and once fired the earthenware took on a rusty color with black reduction marks.


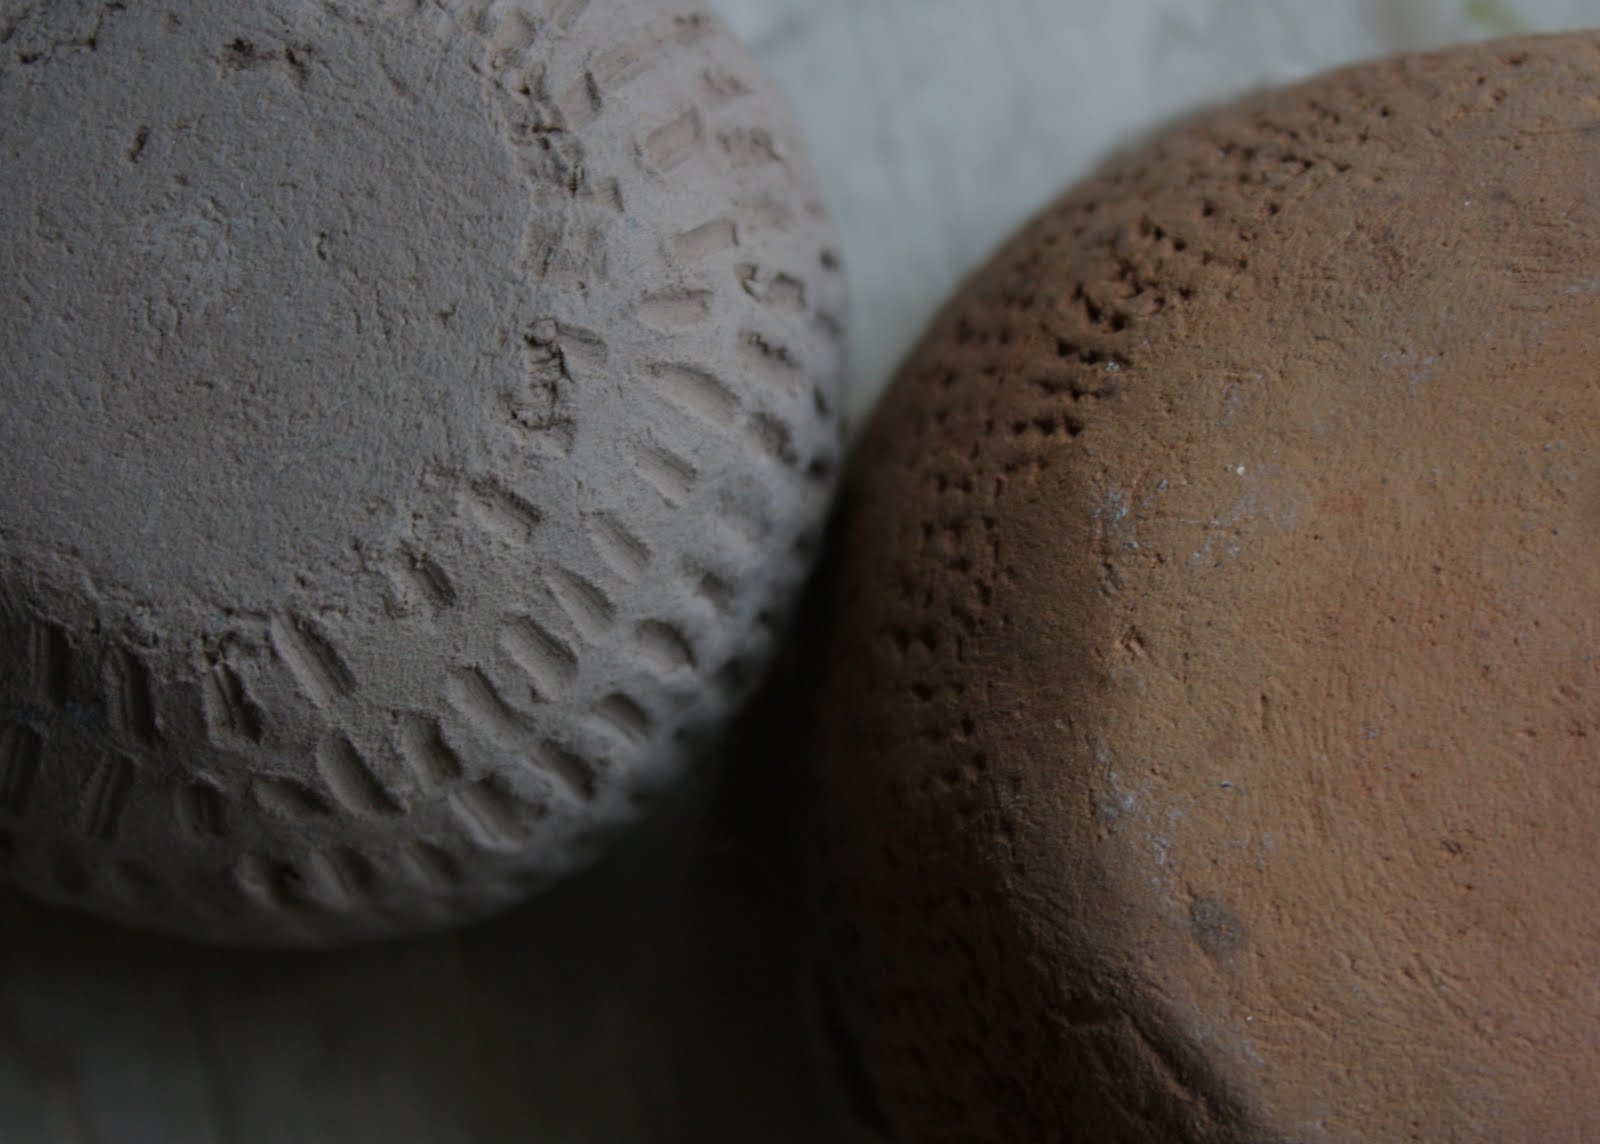
My little bird turned a lovely orange color, very much like terra cotta, even though he's made of the exact same clay.  Interesting, isn't it?


Sitting in a room making pinch pots and talking about native american culture and history, eating some wild rice soup, digging clay, standing in front of a fire on the shores of Lake Mille Lacs on a crisp autumn morning, mingling with people with similar interests...well that's just about heaven for me.  I enjoyed it so much that I've already started slaking a batch of clay from my yard and tinkering with the clay we dug while in class.


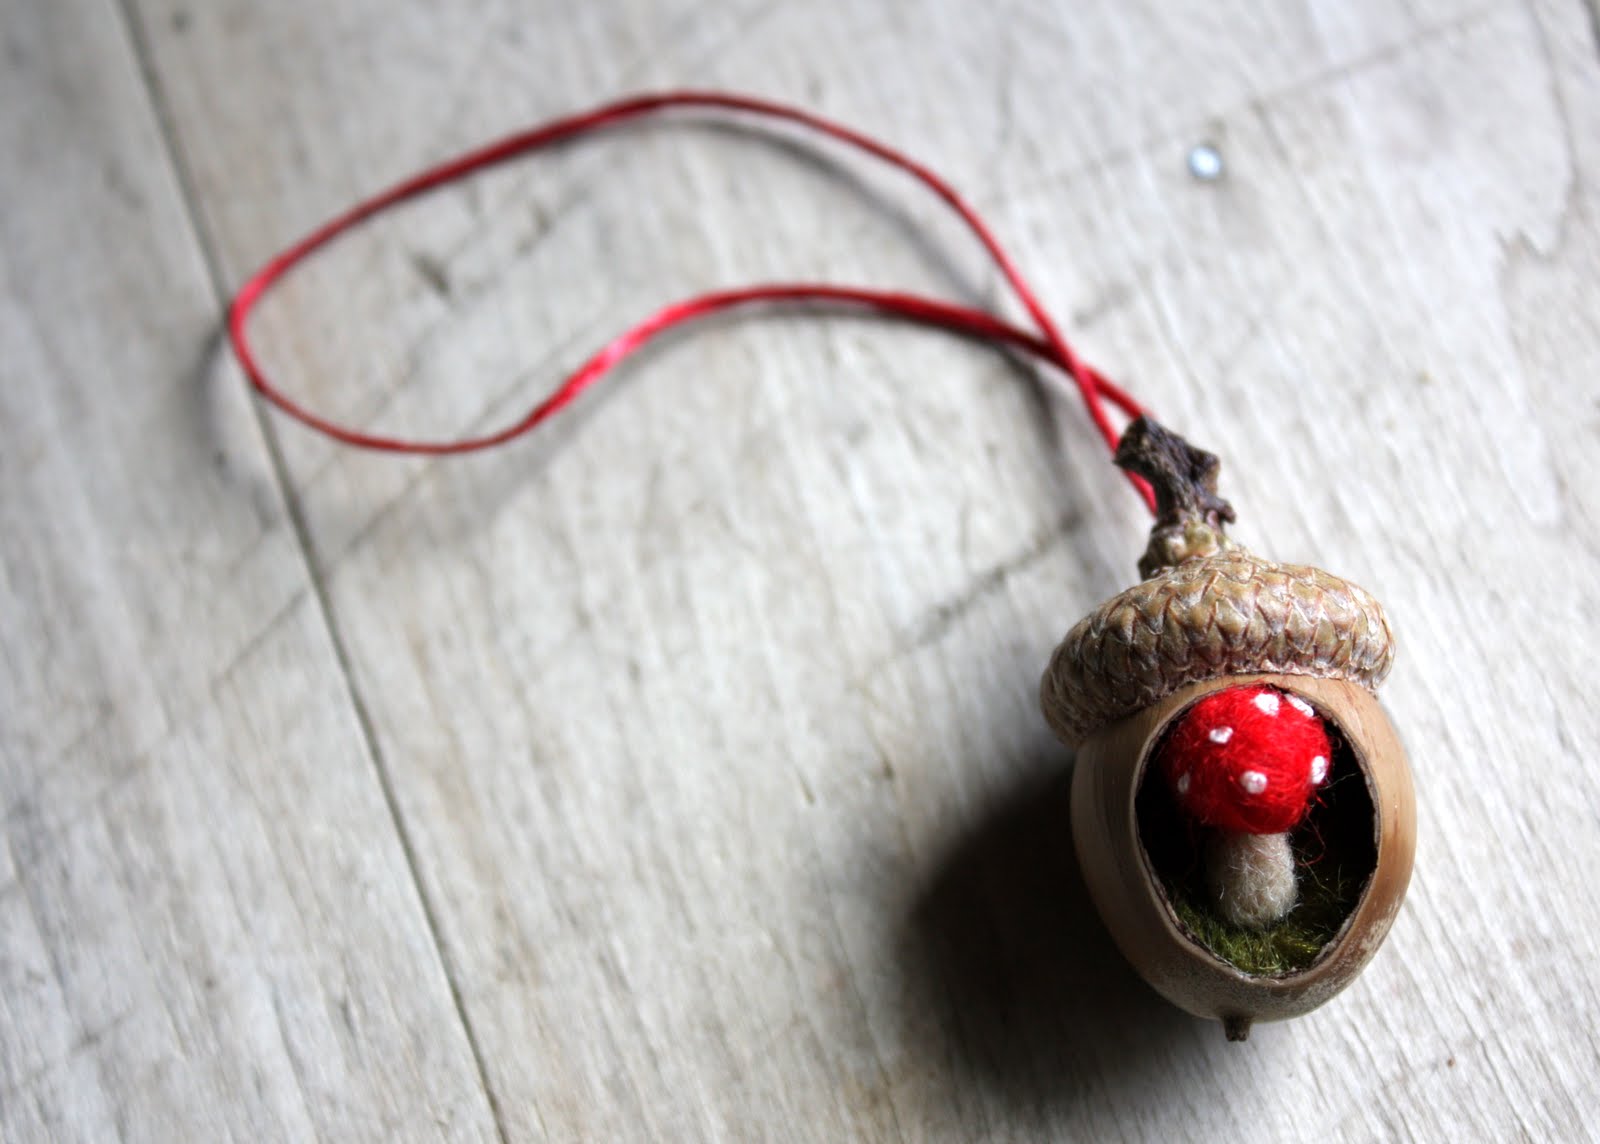
Come on, you knew there would be mushrooms popping up, right?  The clay from my yard is a dark red color so I'm really curious to see how it will look once fired.


If you're in the area you should make a stop at the museum.  They offer a number of classes throughout the year including birch bark basket-making, beading, mitten-making, and much more.  Check out their website for a list of upcoming events:


they're on facebook too:


Have a great weekend everyone!


Thursday, September 29, 2011

a small shop update tomorrow


There will be just a few new textural stones in my shop tomorrow morning at 9am CST but I'm hoping to get several more sets finished soon, along with some other projects I have in the works.

If you'd like to stop by, I'd be delighted.
Thank you!

Woolly Aphids


Woolly Aphids?  No, not my latest installation piece, something even cooler. 
Yesterday as I was ambling towards the Alder to pick some cones for dyeing, I noticed a mass of white on one of the branches.  I thought at first it was some kind of fungus but when I looked closer I saw that this mass of "fungus" was moving ever so slightly.  Ants were walking to and fro and at first I thought they were eating these things, whatever they were, but as I watched for a while it seemed they were acting like little sheep herders instead.

(be sure to click on the pictures to see them a bit larger)


I pulled the branch down a little lower so I could get a better look and one of the bigger ants ran towards my hand, clearly perturbed that I was messing with their flock.  I noticed that the ants were kind of stroking the white mass with their antennae and the word that came to mind was that they were "tending" these things and the little black spots looked like aphids.  When I came in and googled "ants tending aphids" I found my answer. (don't you love it when it happens like that?  Sometimes I have the hardest time finding information but this just fell in my lap)


These ants were tending aphids.  Woolly Alder Aphids.  These aphids secrete a sweet substance called honeydew which the ants love.  Some species of ants will tend a flock of aphids, gently stroking them to gather up the honeydew.  It is said that some ants will eat so much their abdomen will become huge with the stuff.  Easy on the sweets, boys.  Everything in moderation...


This was my "man, nature is awesome" moment of the day and I wanted to share it with you.
I hope you're bumping into amazing things today too.

Tuesday, September 27, 2011

back soon


Hello everyone!
I've had an amazing weekend and I can't wait to tell you all about it.  Right now though it seems a head cold is busy kicking my butt and I'm feeling a little run-down.  As soon as I have just a bit more energy I'll be right back here to tell you of my adventures.

I hope you're all doing well and avoiding the back-to-school sniffles.
See you soon!

Friday, September 23, 2011

feeling connected


As I was photographing the stones I made this week I couldn't help but notice how well they seemed to blend in to their surroundings.

When I make a stone I pick some wool colors that I like and that I'm "feeling" at that time.  I'll hold the felted stone in my hand and decide what colors of thread seem to work with it, and then start to stitch.  There isn't a plan, I just start to work.  It's a very organic process and one that suits me best.


So it tickles me that while I'm snapping pics, a small oak leaf falls and lands near a rock that complements it, right down to the bumps on the underside, or when I notice the bug trails match those I've stitched in a stone.


It makes me feel more connected to my source of inspiration.

These stones will be headed to my shop but I think I'm going to have to make a set soon to leave out on my favorite bug-chewed log as a thank you of sorts.

In other news, I have a fun weekend ahead of me and I can't wait to share.
I hope you all have a great weekend too.


Thursday, September 22, 2011

conversations with the residents


Yesterday you may have caught a glimpse of something I've been working on.  That spiky little guy is my latest textural stone and what I'm calling one of my "conversations with the residents".


Often when I'm out woods-wandering I'll find little mementos left by the woods-dwellers.  Some of these are not things I want to bring home (ahem) but sometimes I can't help but wonder what I can make with some of these found treasures.


A tuft of deer hair, a turkey feather, a couple of porcupine quills...
I've been holding on to these and waiting for the right project.  I like the mix of textures and the idea of combining found natural materials with cultivated natural materials.


I think I also like them because they're a little strange.


These little guys will be in my shop tomorrow, along with another set or two of textural stones. 

Have a great day, everybody.

Tuesday, September 20, 2011

my first nuno vest


I made a little something for my youngest the other day that I'm really loving.  It's a little vest that I nuno-felted for her using some natural wool locks from a farm here in Minnesota, and some silk I hand-dyed using beans.


It's hard to tell from the photos, I just couldn't get a great picture of it, but the silk is a lovely tan color.  I'd previously gotten blue from the beans but I must have done something differently and ended up with tan.  No worries though, it worked out great for this project.


The wool locks were almost white with dark brown tips and I felted them in such a way that the tips were arranged in lines.  The silk shows through in these areas and I kind of dig the effect.


The asymetrical collar closes with a button I made out of a deer antler that my father gave me.  The vest has a "cavebaby" vibe to it so I figured the antler button would be perfect.


I really love the way it turned out and now that I have a little practice under my belt maybe eventually I'll be able to make something in my size.  I give a big "hats off" to you nuno-felters out there, this was some hard work, but the results are so much fun.

You can bet I'll be trying this again soon.

Monday, September 19, 2011

Sept. 19 2011


After far too long without it, we've gotten rain.


The ground is damp and green, the sky is blue this morning, and the dew is covering the spiderwebs like jewels.


Fall is in the air.


With luck the mushrooms will make an appearance.  I'll be here to greet them should they arrive.


I hope you have a great start to the week.
A big Happy Birthday to my dad.
xo


Saturday, September 17, 2011

dyeing (and playing) with acorns


After making my acorn flour from yesterday's post I was left with a bowlful of acorn shells.  I've seen them discolor water before so I thought I'd see if I could leach enough color out of them to dye wool, rather than just toss them back into the woods.

I put them all in the dyepot with some water and let them steep for a full day.  There was definitely color in the water but I decided to warm them up on a low burner for about an hour to coax more of it out.  Eventually the dye water turned to the color of coffee and I figured it was good to go.  I drained out the acorn shells and plunked my alum-mordanted wool in the warm dye and let it sit for several more hours.  The result was a pale tan, not unlike the color of the nut meat.


I wanted to make a little wool acorn out of this color so I wet-felted a bead and glued it into a cap and you know, it looked just like a little head with a fringe of hair sticking out from under its cap.  I figured I was due for some play time so I went in search of a body and wings and came up with this odd fella.


I'm not sure if he's a bug or a fairy or what.  I'll let my kids decide.  I've left him by the big oak, the one with the fairy pond in the middle, for them to discover.


Since I still had several gazillion acorns in the yard I also decided to play with one of the whole acorns and came up with this bitty ornament, complete with tiny wool mushroom.


It's good to play now and again, isn't it?
I hope you get some play time too.
Have a great weekend.

Friday, September 16, 2011

acorn gathering


You know fall is near when the acorns start dropping.  Trips to the clothesline are fraught with danger of being beaned by oak-powered projectiles.  Though this may be the land of Poplar and Pine, Oaks are just as prevalent in my yard.


I've noticed that while the red oaks started dropping acorns a few weeks ago, the white oaks, especially the Bur Oaks, dropped them en masse a few days ago.  I've been wanting to try my hand at acorn processing ever since I saw the beautiful pastas, breads, and even "coffee" on Hank Shaw's site (do a search for acorns once there, you'll be in awe).  I grabbed my gathering basket, a couple of my grubby-handed kids, and started scooping the acorns in.  They easily fell out of their caps and I found out later, were nearly bug-free, unlike their red oak cousins.


The process of removing the nut meats from the acorn shell is a tedious one.  It helps to enlist some helpers for this step too.


Whack the acorn, remove the meat, drop meat in a pot of water, repeat.

After we had de-shelled our entire batch of acorns, I needed to leach the tannins out.  The tannin in the acorn is what gives them their bitter taste.  Even before leaching, these acorns were pretty mild so I didn't have to do much soaking, three changes of water was all it took.  When the soaking water remained clear I put the drained acorns in my dehydrator to dry so I could later grind them into flour.  (see Hank Shaw's post for processing tips)


With the sudden cold snap it seemed like soup weather so I decided that acorn bread would be on the menu.  I used Amber Dusick's recipe and it turned out fantastically.  It was hearty and slightly sweet, so good slathered with butter and served with my roasted squash soup.  We enjoyed it so much I headed right back out and gathered more acorns.  I'm dying to try that coffee recipe...


Tomorrow I'll show you what I did with these.


How about you?  Have you ever eaten acorns?  What did you think?


LinkWithin

Related Posts with Thumbnails